 PixRinse
Screenshots show the English app. Preset names and controls are also available in your app language.
Your starting point
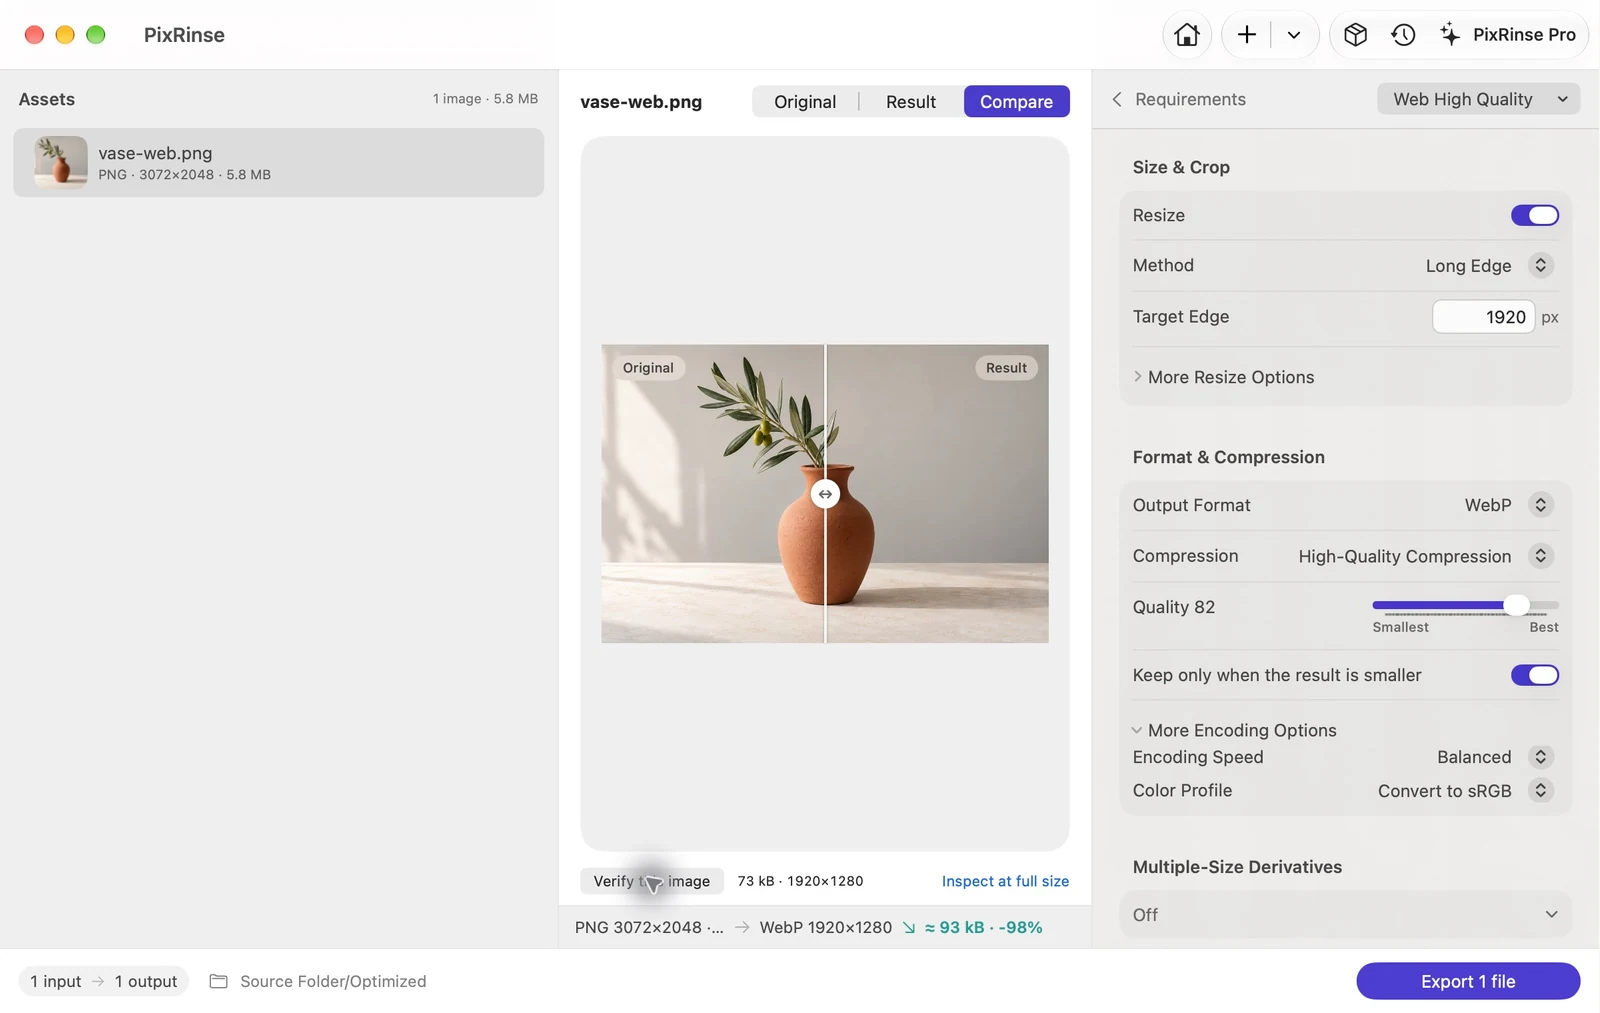
Use Web High Quality in PixRinse, then review these settings against your actual destination.
| Output | WebP |
|---|---|
| Quality | 82 |
| Long edge | 1920 px, downscale only |
| Color | Convert to sRGB |
How to do it
Collect the website images
Work from the highest-quality source files you have. Keep originals separate from the files intended for publication.
Choose Web High Quality
This preset uses WebP quality 82, a 1920 px maximum long edge and web-safe metadata. Adjust the long edge to your actual layout.
Compare the visual result
Look at gradients, small text and detailed edges. A quality setting is a starting point, not a promise of a particular visual result or percentage saving.
Export and integrate
Check the output format and status of each file. If you need several widths for the same page, use the Responsive Web preset instead.
THE FILES FROM THIS WALKTHROUGH
What this example produced
The 3072 × 2048 PNG becomes a 1920 × 1280 WebP. The settings screenshot shows quality 82 and Convert to sRGB explicitly.
- Quality
- 82
- Color profile
- sRGB
- Output format
- WebP
| File | Format | Pixels | Bytes |
|---|---|---|---|
| vase-web.webp | WebP | 1920 × 1280 | 72,818 |
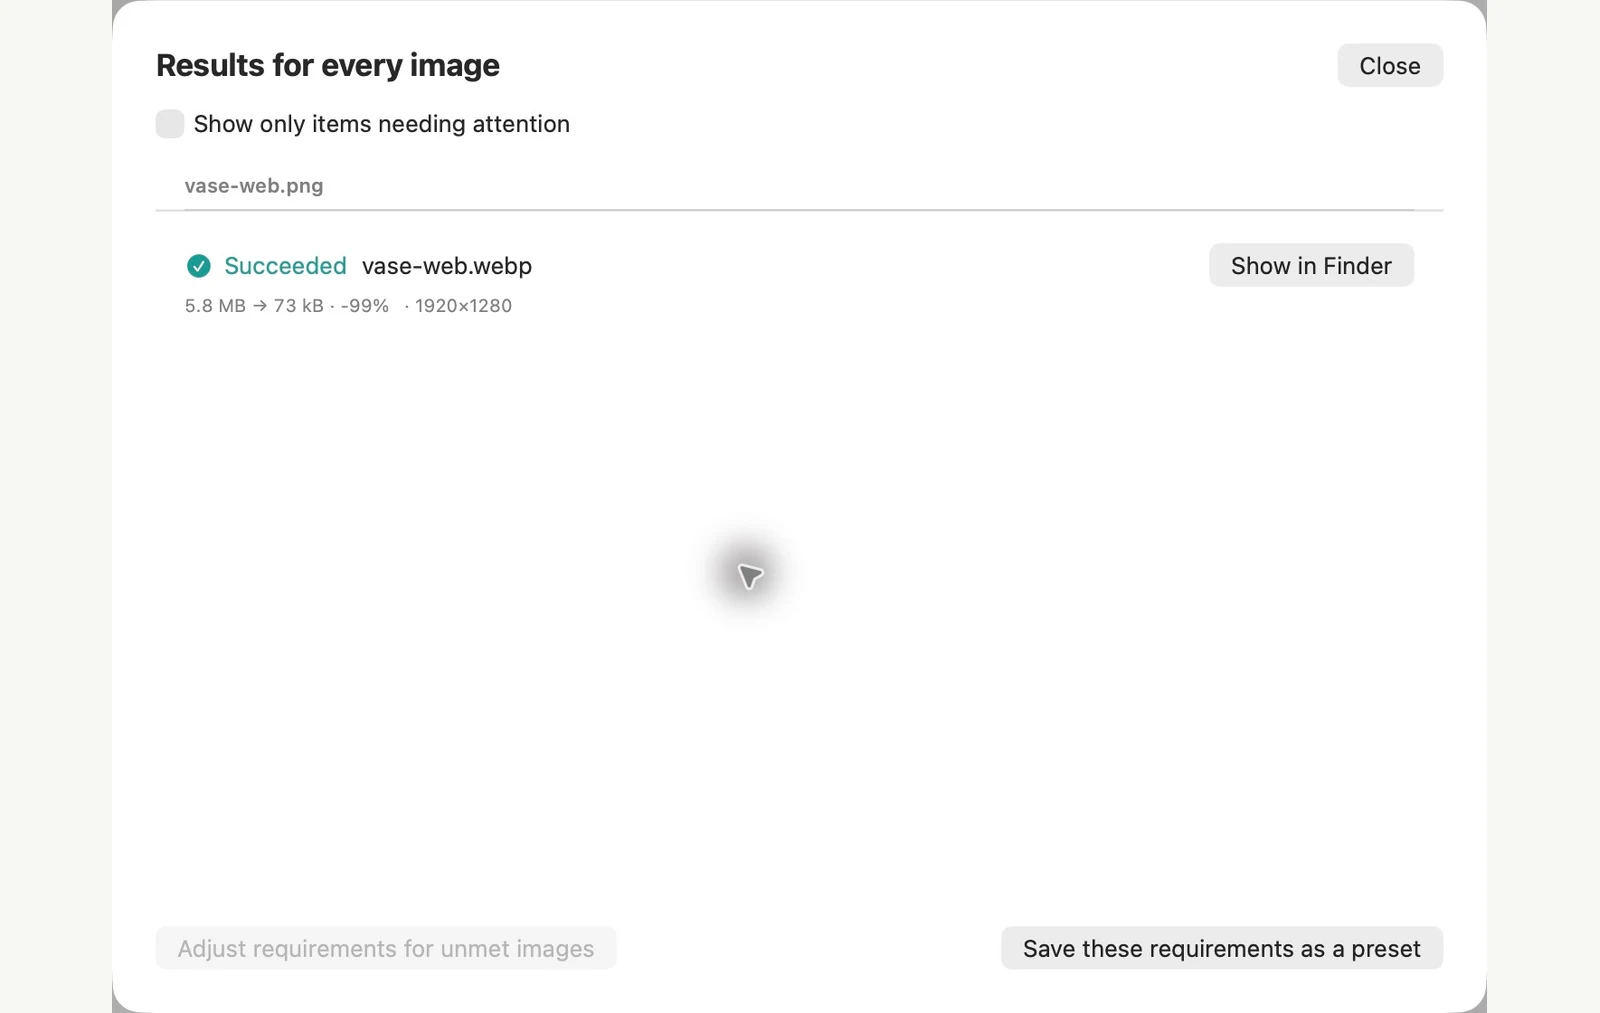
Measured on the sample files shown. Your results depend on your originals and settings. The ceramic-vase photograph is an AI-generated sample. The app screenshots and exported file measurements are real.
A couple of common questions
Will every WebP be smaller than the source?
No. Size depends on the source, image content and settings. PixRinse can avoid retaining larger results.
Can WebP keep transparent areas?
WebP supports transparency. Inspect transparent edges in the result and choose PNG or lossless WebP when that better suits the artwork.
Put the workflow to work.
Open PixRinse, add a few images and start with the settings above.
Download for MacFree: up to 10 images per batch and one output per source. Compare Free & Pro.